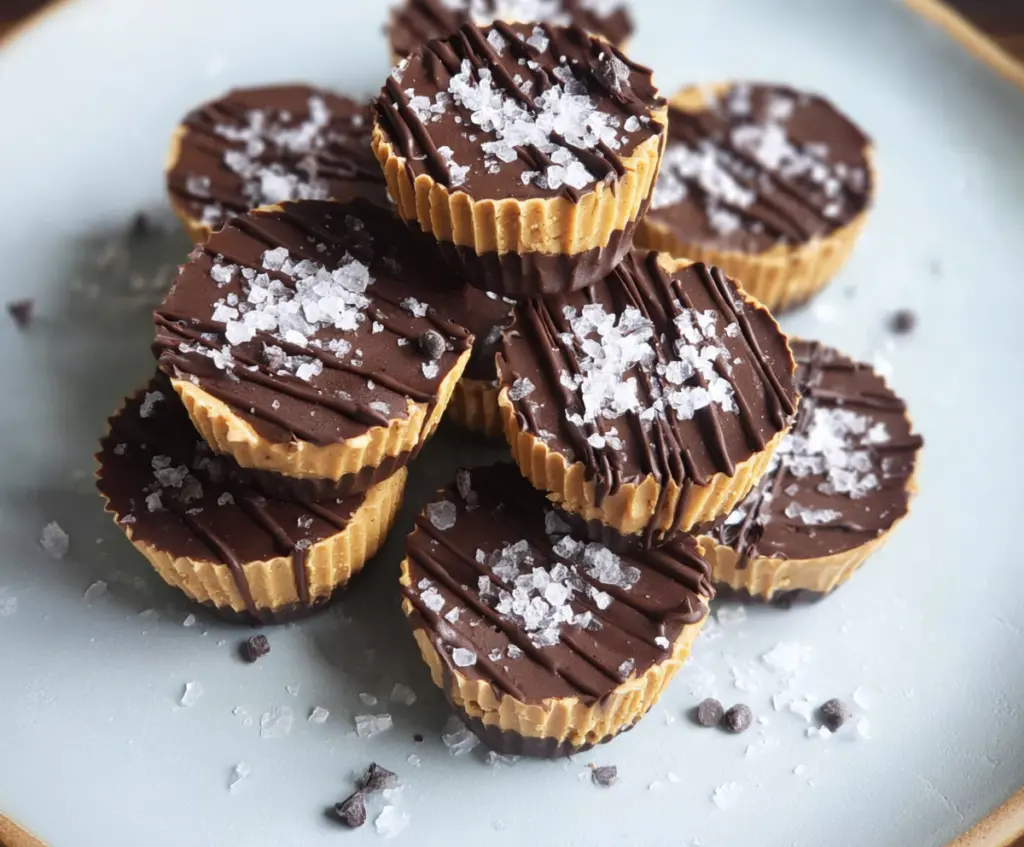
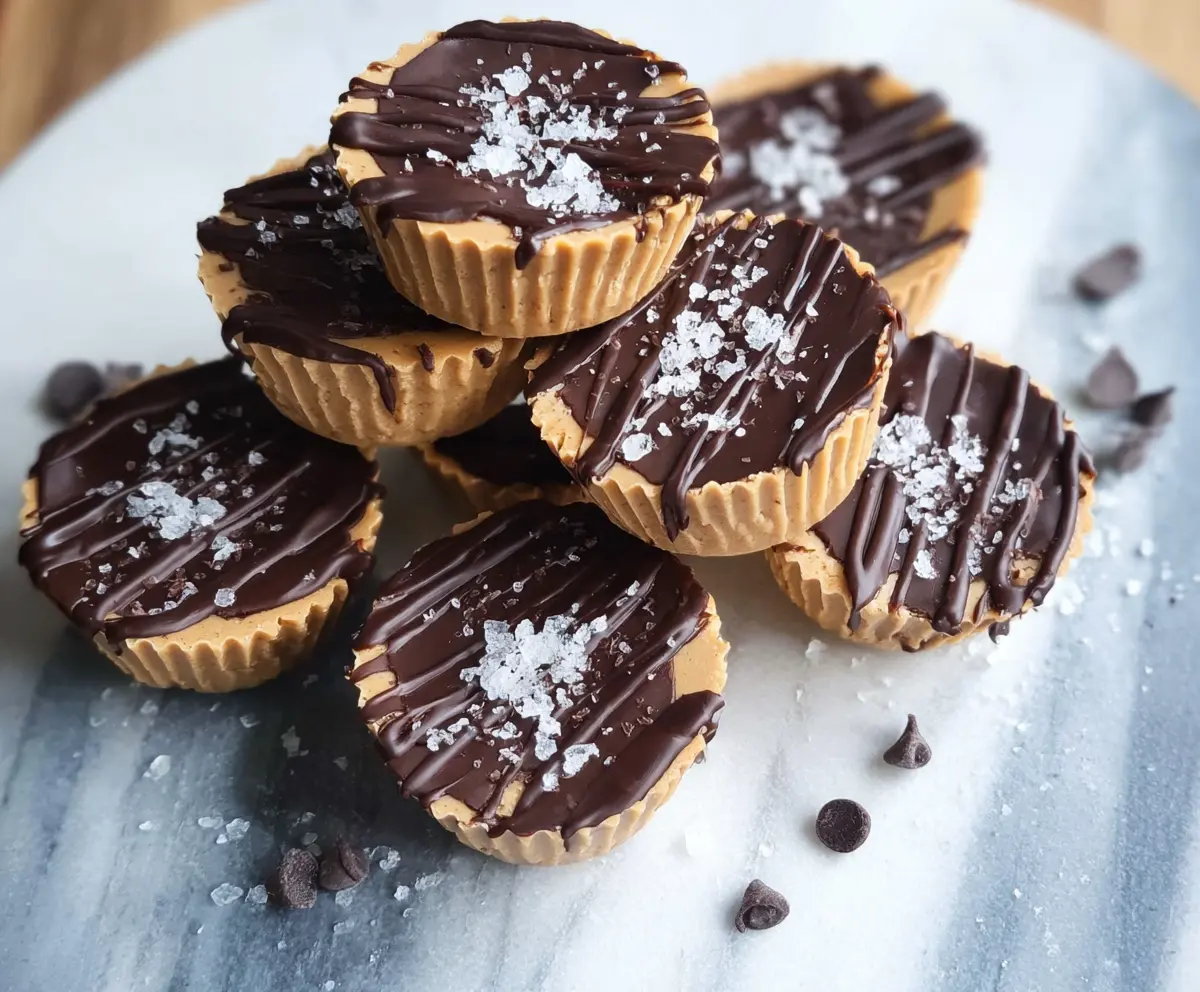
These Healthy 3-Ingredient Peanut Butter Cups are a simple and satisfying treat that you can whip up in no time. With just peanut butter, chocolate, and a touch of sweetness, they strike the perfect balance between rich and wholesome. The creamy peanut butter center pairs wonderfully with the smooth chocolate coating, making every bite feel like a little celebration.
I love making these cups when I need a quick sweet fix without any guilt. What I really appreciate is how easy they are to customize—sometimes I sprinkle a bit of sea salt on top for a salty-sweet twist, or add some chopped nuts if I’m feeling fancy. They’re a hit with everyone who tries them, whether you’re looking for a healthy snack or a simple dessert.
My favorite way to enjoy these peanut butter cups is just straight from the fridge, when they’re perfectly firm but still soft in the center. They’re great for a quick snack, lunchbox treat, or even a little pick-me-up during a busy day. If you’re like me and enjoy straightforward recipes that bring happiness without all the fuss, these cups will quickly become your go-to!
Key Ingredients & Substitutions
Natural Peanut Butter: This is the hero ingredient. Using natural peanut butter without added sugars or oils keeps this treat healthy. If you’re allergic to peanuts, try almond or cashew butter—it works great too!
Dark Chocolate Chips: A good-quality dark chocolate with 70% cocoa adds rich flavor and antioxidants. If you prefer a sweeter taste, you can use semisweet chips or sugar-free chocolate for a lower sugar option.
Maple Syrup or Honey: These natural sweeteners balance the bitterness of dark chocolate and add a touch of sweetness. You can skip this if you like your cups less sweet or use agave syrup as a vegan alternative.
Flaky Sea Salt: Sprinkling sea salt on top gives a nice contrast, highlighting the chocolate and peanut butter flavors. If you don’t have flaky salt, regular kosher salt is fine but use sparingly.
How Do I Get Smooth Chocolate Layers Without Seizing?
Melting chocolate smoothly can be tricky because chocolate seizes if it touches water. To prevent this:
- Use a microwave in 30-second bursts, stirring well between each to evenly melt the chocolate.
- Make sure your bowl and utensils are completely dry before starting.
- A double boiler works well too—gently melt chocolate over simmering water, stirring constantly.
- If chocolate thickens or looks grainy, a small splash of neutral oil can help smooth it out.
Taking your time here ensures your peanut butter cups have beautiful, shiny, and smooth chocolate layers.
Equipment You’ll Need
- Mini muffin tin or silicone mold – I recommend these because they make removing the cups easy and mess-free.
- Mini cupcake liners or non-stick spray – helps prevent sticking and keeps cleanup simple.
- Microwave-safe bowl or double boiler – for melting the chocolate gently and evenly.
- Spoon or small spatula – used to layer the chocolate and peanut butter filling smoothly.
- Measuring spoons – to portion ingredients accurately for consistent cups.
Flavor Variations & Add-Ins
- Use melted white chocolate instead of dark for a sweeter, milky flavor—great for kids or special treats.
- Add chopped nuts or shredded coconut into the peanut butter layer for extra texture and flavor.
- Mix a pinch of cinnamon or vanilla extract into the peanut butter for a warm, aromatic twist.
- Top with a drizzle of caramel or sprinkle with crushed pretzels before chilling for added crunch and salty-sweet combo.
Healthy 3-Ingredient Peanut Butter Cups
Ingredients You’ll Need:
Main Ingredients:
- 1 cup natural peanut butter (smooth or crunchy based on preference)
- 1 cup dark chocolate chips (preferably 70% cocoa or higher for health benefits)
- 1-2 tablespoons pure maple syrup or honey (optional, for sweetness)
- Flaky sea salt, for sprinkling on top
How Much Time Will You Need?
This recipe takes about 15 minutes of hands-on prep and melting time, plus 30 minutes of chilling time to let the peanut butter cups set properly. So, in about 45 minutes, you’ll have a batch of delicious, healthy peanut butter cups ready to enjoy!
Step-by-Step Instructions:
1. Prepare Your Molds:
Start by lining a mini muffin tin with cupcake liners or lightly grease a silicone mold to prevent sticking. This will make removing your peanut butter cups easy once they’re set.
2. Melt the Chocolate:
Place the dark chocolate chips in a microwave-safe bowl. Melt them in 30-second intervals, stirring well after each, until smooth and fully melted. Be careful not to overheat!
3. Make Chocolate Base:
Spoon about 1 teaspoon of melted chocolate into the bottom of each cup, spreading it evenly to create a base layer. Pop the tray into the refrigerator for around 10 minutes to let this layer firm up.
4. Mix the Peanut Butter Filling:
While the chocolate sets, mix the peanut butter with the maple syrup or honey (if using) in a separate bowl until smooth and well combined.
5. Add Peanut Butter Layer:
Once the chocolate base is firm, spoon roughly 1 tablespoon of the peanut butter mixture on top of each chocolate base. Gently flatten the peanut butter with the back of a spoon so it has a nice even layer.
6. Seal with More Chocolate:
Melt any remaining chocolate if it has hardened, then spoon another teaspoon of chocolate over the peanut butter in each cup, smoothing the tops to seal the filling inside.
7. Add Finishing Touches:
Sprinkle flaky sea salt generously over the soft chocolate top for a delightful salty-sweet contrast.
8. Chill and Set:
Place the tray back in the fridge for at least 30 minutes to allow the peanut butter cups to set completely.
9. Enjoy and Store:
Once set, enjoy your homemade healthy peanut butter cups right away! Store any leftovers in an airtight container in the fridge for up to one week.
Can I Use Frozen Peanut Butter to Make These Cups?
It’s best to use peanut butter at room temperature for easy mixing, especially if adding maple syrup or honey. If your peanut butter is frozen, let it thaw in the fridge overnight and stir well before using.
Can I Make These Peanut Butter Cups Ahead of Time?
Absolutely! You can prepare the cups and store them in the fridge for up to a week. Just keep them in an airtight container to maintain freshness. They also freeze well if you want to keep them longer.
What’s a Good Alternative to Peanut Butter?
You can swap peanut butter for almond butter, cashew butter, or sunflower seed butter, especially if you have allergies or prefer a different flavor. Just make sure it’s smooth for the best texture.
How Should I Store Leftover Peanut Butter Cups?
Store your cups in an airtight container in the refrigerator to keep them firm and fresh. You can enjoy them chilled or let them sit at room temperature for a few minutes for a softer bite.