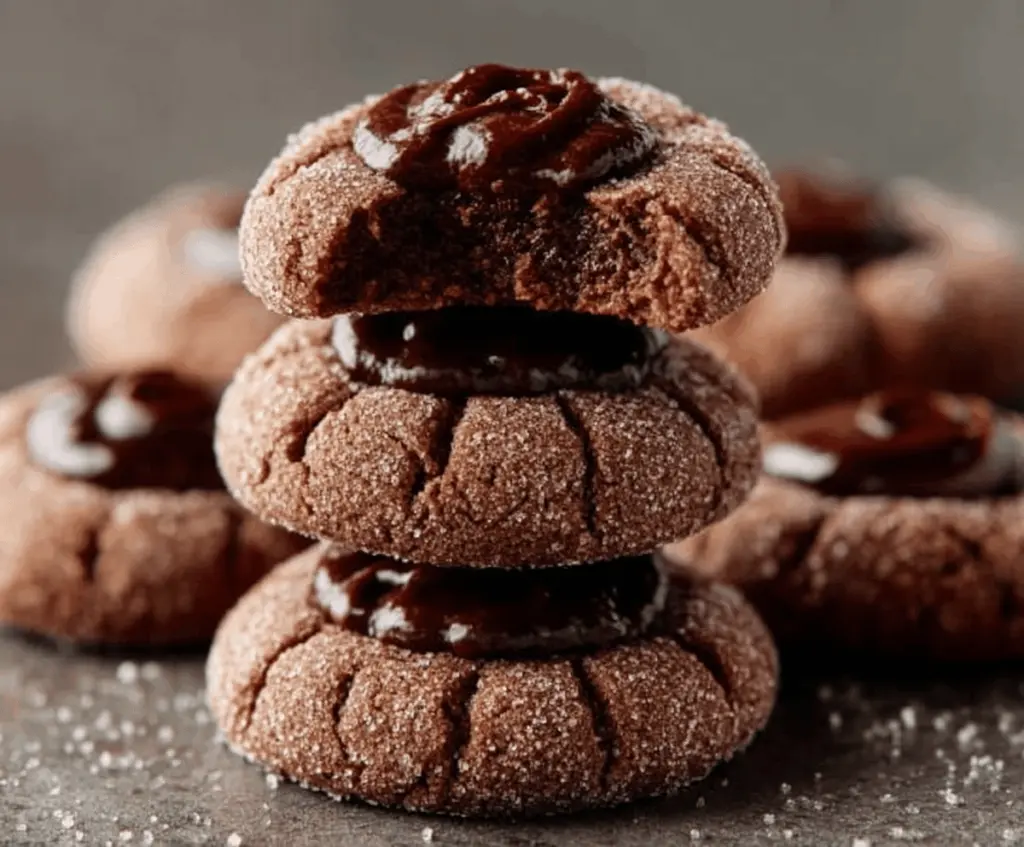
Chocolate Thumbprint Cookies are a sweet little treat that combine soft, buttery cookie dough with a rich chocolate center. These cookies have a perfect balance of tender texture and a gooey chocolate surprise right in the middle, making them a delightful bite every time. The best part is how simple they are to make—just press your thumb into the dough, add the chocolate filling, and bake!
I love making these because they’re so fun to stamp and fill, almost like a little craft project in the kitchen. Whenever I bake them, the kids jump right in to help press their fingerprints into the dough, which makes the whole process extra special. Plus, the smell of chocolate baking fills the house and always gets everyone excited for a snack.
These cookies are perfect for any occasion, whether it’s a cozy afternoon treat or a festive holiday gift. I like to serve them with a glass of milk or a cup of tea, and they always bring a smile to faces young and old. If you want to mix it up, try using different chocolate types or even a dollop of jam instead of chocolate for a fruity twist. Either way, these thumbprint cookies are a sweet staple that’s hard to resist.
Key Ingredients & Substitutions
Butter: Using unsalted butter lets you control the saltiness. Make sure it’s softened to mix well. For a dairy-free swap, try coconut oil or vegan butter, but note the flavor will change a bit.
Sugar: Granulated sugar gives the cookies their crisp, crackly surface. You can roll dough balls in brown sugar for a more molasses-like flavor and softer texture.
Flour & Cocoa Powder: All-purpose flour works best for a tender crumb. Cocoa powder adds that chocolatey depth—unsweetened is key here to control sweetness. You can try Dutch-processed cocoa for a milder, richer taste.
Chocolate Filling: Semisweet or bittersweet chocolate melts smoothly for the filling. Choose based on your preferred sweetness. Darker chocolates offer more intense flavor; milk chocolate makes it sweeter and creamier. You can also experiment with chocolate chips or finely chopped bars.
How Do You Make the Perfect Thumbprint Without Cracking?
Pressing the indentation without breaking the cookie can be tricky. Here’s how I do it:
- Cool the dough slightly if it feels too soft; room temperature is best.
- Use your thumb or the back of a rounded spoon, pressing gently but firmly.
- If cracks form, smooth them gently with a little water or your fingertip dipped in water.
- Don’t press too deep—just enough to hold the chocolate filling.
- Chilling dough before baking can also help it hold shape better.
This gentle technique keeps cookies round and neat, with a perfect well for the chocolate center.
Equipment You’ll Need
- Baking sheet – I like it because it provides a flat surface for even baking and easy handling.
- Parchment paper – keeps the cookies from sticking and makes cleanup a breeze.
- Mixing bowls – for combining the butter, sugar, and dry ingredients easily.
- Electric mixer or whisk – helps cream the butter and sugar quickly and smoothly.
- Small spoon or melon baller – for shaping and rolling the dough into little balls.
- Measuring cups and spoons – ensures everything is just right.
- Microwave-safe bowl – for melting the chocolate and cream together smoothly.
Flavor Variations & Add-Ins
- Different chocolates: Use white chocolate or milk chocolate for a sweeter or richer flavor. Or try dark chocolate for more intensity.
- Include nuts: Chopped walnuts or pecans stirred into the dough add crunch and nutty flavor.
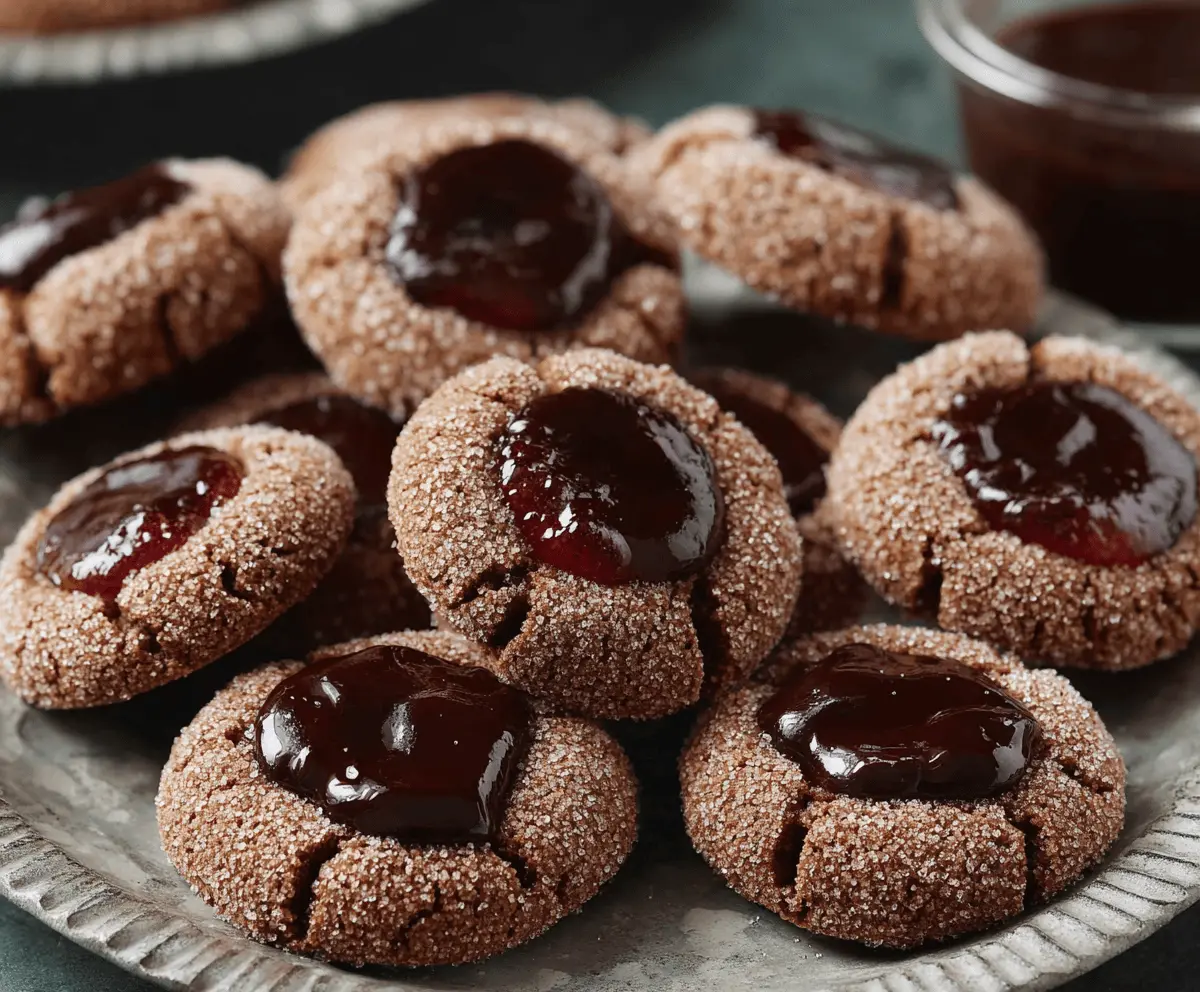
- Fruit jams: Fill the centers with raspberry or strawberry jam for a fruity twist instead of chocolate.
- Spice it up: Add a pinch of cinnamon or chili powder to the dough for a unique flavor kick.
Chocolate Thumbprint Cookies
Ingredients You’ll Need:
For the Cookies:
- 1 cup (2 sticks) unsalted butter, softened
- 3/4 cup granulated sugar, plus extra for rolling
- 1 large egg
- 1 teaspoon vanilla extract
- 1 1/2 cups all-purpose flour
- 1/2 cup unsweetened cocoa powder
- 1/2 teaspoon baking powder
- 1/4 teaspoon salt
For the Chocolate Filling:
- 1 cup semisweet or bittersweet chocolate, chopped or chocolate chips
- 2 tablespoons heavy cream
How Much Time Will You Need?
This recipe takes about 15 minutes to prep and 10-12 minutes to bake. Add a few more minutes to prepare the chocolate filling while the cookies bake, plus a 10-minute cooling time. Overall, you’ll spend around 30 to 40 minutes from start to finish—quick and rewarding!
Step-by-Step Instructions:
1. Prepare and Mix the Dough:
Start by preheating your oven to 350°F (175°C) and lining a baking sheet with parchment paper. In a large bowl, beat the softened butter together with 3/4 cup sugar until light and fluffy. Crack in the egg and add vanilla, mixing well. In another bowl, whisk flour, cocoa powder, baking powder, and salt, then gradually mix these dry ingredients into the wet mixture until it forms a soft dough.
2. Shape and Bake the Cookies:
Roll the dough into 1-inch balls, then roll each ball in extra granulated sugar to coat. Place them spaced evenly on your baking sheet. Use your thumb or the back of a spoon to gently press an indentation in the center of each ball. Bake for 10-12 minutes until the cookies are set but still soft. Remove the sheet from the oven.
3. Make the Chocolate Filling and Finish:
While the cookies bake, melt the chocolate and heavy cream together in a microwave-safe bowl. Heat in 20-second bursts, stirring well until smooth and shiny. Spoon or pipe the melted chocolate mixture into the warm indentations. Let the cookies cool on the baking tray for about 10 minutes, then transfer them to a wire rack to cool completely. Store in an airtight container for up to a week.
Can I Use Frozen Butter for This Recipe?
It’s best to use softened butter for creaming, as frozen butter won’t mix properly and can affect the cookie texture. If butter is frozen, thaw it in the fridge overnight or at room temperature until soft but not melted.
Can I Substitute Heavy Cream in the Chocolate Filling?
Yes! You can use half-and-half or whole milk, but the filling will be slightly less creamy and rich. For a dairy-free option, try coconut cream for a similar texture and flavor.
How Should I Store the Cookies?
Store these cookies in an airtight container at room temperature for up to a week. To keep the chocolate filling fresh, avoid refrigerating as it can harden the chocolate and alter the texture.
Can I Use Jam Instead of Chocolate for the Filling?
Absolutely! Traditional thumbprint cookies often use fruit jam. Raspberry or strawberry jam pairs nicely with the chocolate dough for a fruity twist. Simply fill the indentations with jam instead of melted chocolate before baking or right after, depending on preference.