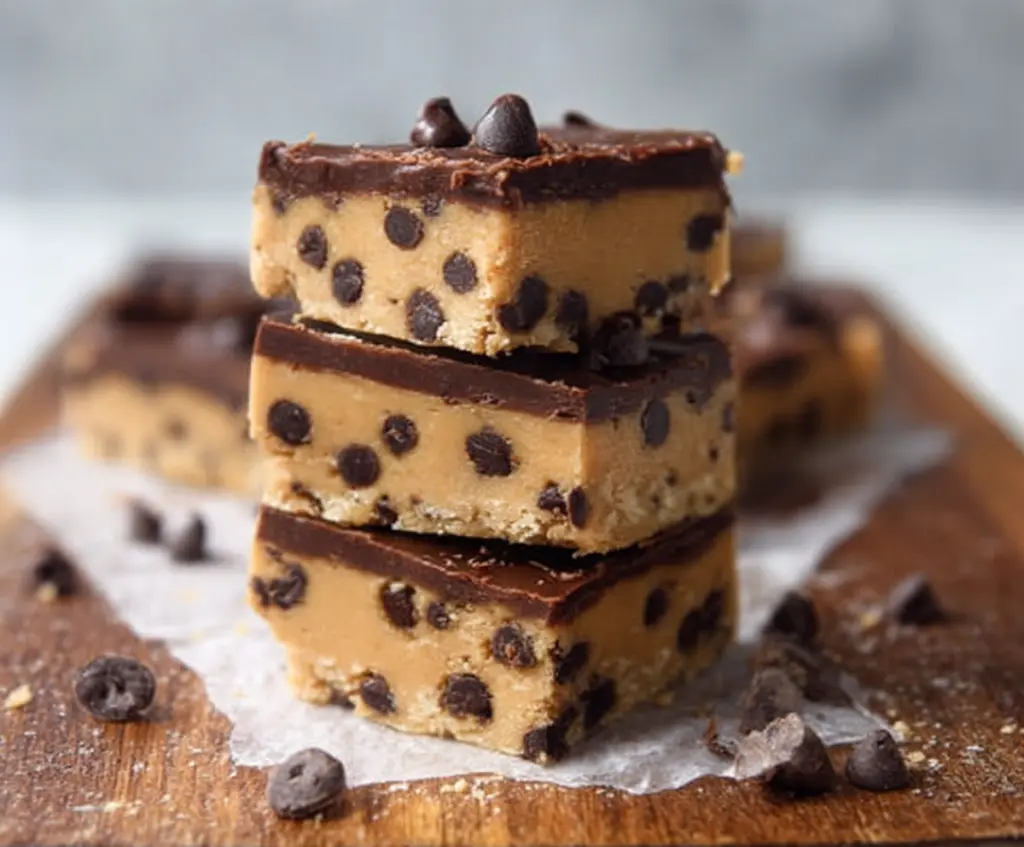
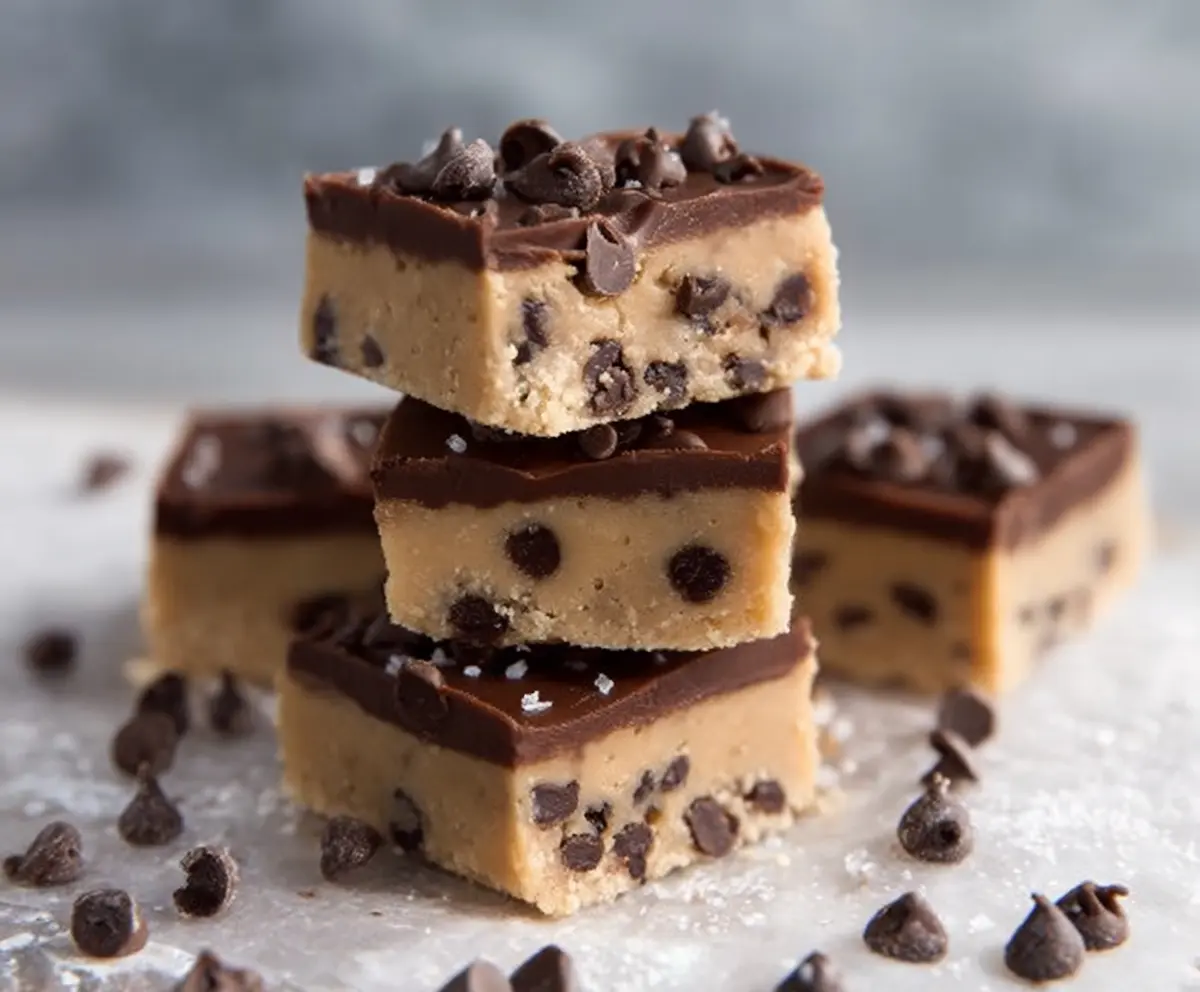
Healthy No Bake Cookie Dough Bars are the perfect sweet treat when you want something simple, tasty, and guilt-free. These bars are loaded with the chewy, rich flavors of classic cookie dough but without the oven or the extra sugar. You’ll find a mix of wholesome ingredients like oats, nut butter, and a touch of natural sweetener that come together to make these bars soft, satisfying, and just a little bit indulgent.
I love making these bars when I need a quick snack to grab on the go or a dessert that doesn’t leave me feeling weighed down. The best part is that they’re so easy to whip up—no baking, no fuss! I usually keep a batch in the fridge and slice them up for a ready-to-eat treat anytime cravings hit. Plus, they hold up well, so they’re great for packing in lunches or taking on a hike.
One tip I have is to press the mixture firmly into the dish before chilling—that way, the bars hold together perfectly and have that nice bite when you eat them. And if you want to get creative, try adding mix-ins like mini chocolate chips or chopped nuts for extra texture! Honestly, these cookie dough bars quickly became a favorite in my house, and I’m pretty sure once you try them, they’ll be a favorite in yours, too.
Key Ingredients & Substitutions
Nut Butter: Peanut butter gives a rich, creamy base, but almond or cashew butter work great too. Go for natural and unsweetened kinds for the healthiest bars.
Sweetener: Maple syrup adds gentle sweetness and a touch of flavor. Honey is a good substitute if you prefer it, or try agave nectar for a vegan option.
Rolled Oats: These provide chewiness and body to the bars. Use gluten-free oats if you’re avoiding gluten. Quick oats can work but might change the texture slightly.
Chocolate Chips: Mini dark chocolate chips mix evenly in the bars. Dairy-free chips are a good choice if you want a vegan or dairy-free treat. The topping uses regular or dairy-free dark chocolate melted with coconut oil for a smooth finish.
How Do I Get the Bars Firm and Easy to Slice Without Falling Apart?
Pressing the dough firmly into the pan is key for sturdy bars. Don’t rush this step—use a spatula or the back of a spoon and press evenly to compact the mixture well.
- Line the pan with parchment paper so you can lift the bars out easily without breaking them.
- After adding the chocolate topping, chill the bars in the fridge for at least 2 hours. This helps the chocolate set and makes the bars firm enough to slice cleanly.
- If you want firmer bars, let them chill longer. If too hard, leave at room temperature a few minutes before cutting.
By following these tips, your bars will hold together nicely and slice into neat squares that are easy to enjoy without crumbling.
Equipment You’ll Need
- 8×8 inch square baking pan – I recommend this size to keep the bars thick and easy to handle.
- Parchment paper – making it simple to lift out and cut the bars without sticking.
- Mixing bowls – a large one for combining ingredients and a smaller one for melting chocolate.
- Spatula or spoon – helps press the mixture evenly into the pan and spread the chocolate topping smoothly.
- Microwave-safe bowl – for melting the chocolate chips and coconut oil quickly.
Flavor Variations & Add-Ins
- Swap the mini dark chocolate chips for white chocolate or carob chips for a different flavor twist.
- Add chopped nuts like walnuts or pecans for extra crunch and texture.
- Mix in dried fruit pieces such as cranberries or chopped apricots for tartness and sweetness.
- Use peanut butter chips or white chocolate chips in the base for a different flavor profile.
Healthy No Bake Cookie Dough Bars
Ingredients You’ll Need:
- 1 cup natural peanut butter or almond butter (creamy, unsweetened)
- 1/4 cup pure maple syrup or honey
- 1 teaspoon vanilla extract
- 2 cups old-fashioned rolled oats (gluten-free if desired)
- 1/2 cup mini dark chocolate chips (dairy-free if preferred)
- 1/4 teaspoon salt
- 1/2 cup dark chocolate chips (for topping)
- 1 tablespoon coconut oil (for chocolate topping)
How Much Time Will You Need?
This recipe takes about 15 minutes to prepare and an additional 2 hours to chill and set in the fridge. Once chilled, the bars are firm and ready to cut and enjoy!
Step-by-Step Instructions:
1. Prep Your Pan:
Line an 8×8 inch square baking pan with parchment paper. Leave some overhang on the sides to make it easy to lift the bars out later.
2. Mix Your Base:
In a large bowl, stir together the peanut or almond butter, maple syrup or honey, and vanilla extract until smooth and well combined.
3. Add Oats and Salt:
Mix in the rolled oats and salt until everything is evenly combined. The mixture should feel thick and a little sticky.
4. Fold In Chocolate Chips:
Gently mix in the mini dark chocolate chips, spreading them throughout the dough.
5. Press Into Pan:
Spread the cookie dough mixture evenly into your prepared pan. Use a spatula or the back of a spoon to press it down firmly and smooth out the surface.
6. Prepare the Chocolate Topping:
In a microwave-safe bowl, melt the dark chocolate chips and coconut oil together in 20-30 second bursts, stirring after each until completely smooth.
7. Add Chocolate Layer:
Pour and spread the melted chocolate evenly over the cookie dough base. Optionally sprinkle a few extra chocolate chips on top for a pretty finish.
8. Chill and Set:
Place the pan in the refrigerator for at least 2 hours, or until the chocolate is firm and the bars hold their shape.
9. Cut and Serve:
Lift the bars out using the parchment paper edges. Slice into squares and serve chilled for the best taste and texture.
10. Store Leftovers:
Keep any extra bars in an airtight container in the fridge for up to one week.
Can I Use Other Nut Butters Instead of Peanut Butter?
Absolutely! Almond butter, cashew butter, or sunflower seed butter all work well. Just make sure to use creamy and unsweetened varieties for the best texture and flavor.
How Should I Store These Cookie Dough Bars?
Store them in an airtight container in the refrigerator. They will stay fresh and delicious for up to one week. For longer storage, you can freeze them for up to 3 months—just thaw in the fridge before eating.
Can I Make These Bars Ahead of Time?
Definitely! These bars are great for meal prep and can be made a day or two in advance. Just keep them refrigerated until you’re ready to enjoy.
Can I Substitute Maple Syrup with Another Sweetener?
Yes, honey is a perfect substitute. If you prefer a low-glycemic option, try agave nectar or coconut nectar. Avoid liquid sweeteners that are too thin as they might affect the texture.