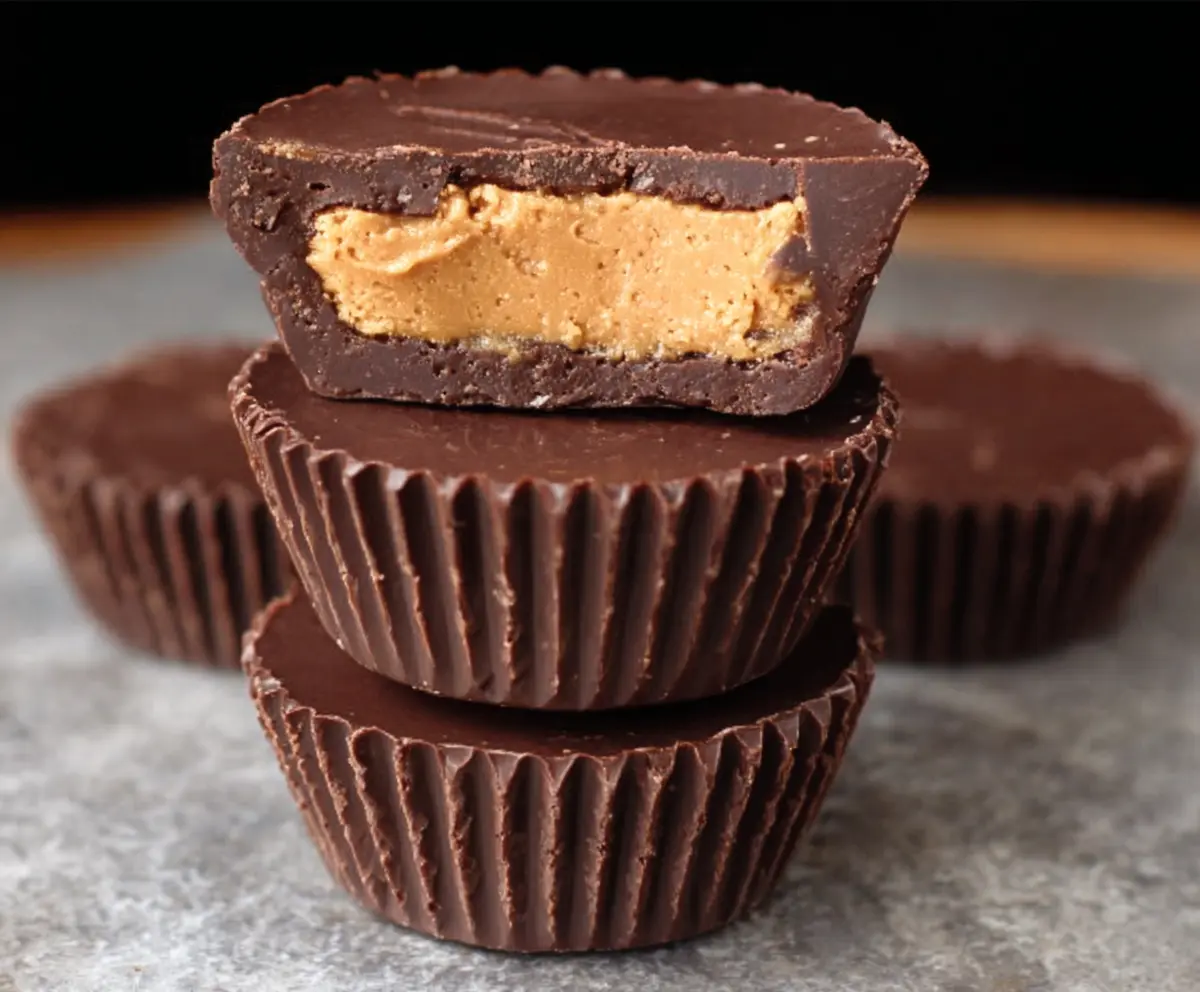
Classic Homemade Reese’s Peanut Butter Cups are a fun and tasty treat that bring together rich chocolate and creamy peanut butter in one perfect bite. These cups are just like the ones you find in the store, but making them at home means you can tweak the peanut butter filling or the chocolate layer just the way you like it. The smoothness of the chocolate combined with the slightly salty, sweet peanut butter makes every bite a little moment of happiness.
I love making these at home because it feels like a mini celebration every time I unwrap one. It’s also a neat way to control the ingredients, especially if you want a bit less sugar or a bit more peanut butter flavor. I usually make a batch to share with friends or keep handy for a quick dessert when cravings hit. Plus, the process of layering the chocolate and peanut butter is kind of fun and relaxing – like a little chocolate project!
Whenever I serve these, I like to chill them in the fridge until they’re nice and firm, so they pop out of the molds perfectly. They’re great to have on hand for parties or just to enjoy with a glass of milk. It’s always a crowd-pleaser, and I find people really appreciate the homemade touch. Plus, it’s a great way to bring a bit of childhood nostalgia into your kitchen in the simplest, yummiest way.
Key Ingredients & Substitutions
Chocolate Chips: Semi-sweet chocolate balances the peanut butter’s sweetness nicely. If you like sweeter cups, use milk chocolate chips instead. For a dairy-free version, try vegan or dark chocolate chips.
Peanut Butter: Creamy peanut butter gives that smooth classic texture. Natural peanut butter works great but may separate, so stir it well. If you prefer less sweetness, use unsweetened peanut butter and adjust sugar.
Powdered Sugar: This sweetens and thickens the filling. You can swap powdered sugar for coconut sugar powder or a little honey, but powdered sugar helps keep the texture just right.
Butter: Butter softens and enriches the peanut butter filling, making it creamy and easy to spread. For dairy-free, use coconut oil or a vegan butter substitute.
How to Get Smooth & Shiny Melted Chocolate That Sets Well?
The chocolate shell is what makes these cups look and taste just right, so melting it properly matters. Here’s how to get smooth, glossy chocolate without burning:
- Use a microwave-safe bowl; heat chocolate in 20-30 second bursts. Stir well between each burst to distribute heat evenly and avoid burning.
- If you have a double boiler, melt chocolate over simmering water, stirring constantly to prevent overheating.
- Make sure no water gets into your chocolate––even a drop causes it to seize and turn grainy.
- Pour the melted chocolate quickly into the cupcake liners and chill right away to set for a firm base.
Following these tips ensures your chocolate will harden smoothly with a nice shine and snap, just like store-bought peanut butter cups.
Equipment You’ll Need
- Mini muffin pan – essential for shaping the cups and keeping everything neat. I find it easy to use and perfect for small treats.
- Mini cupcake liners – these hold the chocolate and peanut butter layers and make removing the cups simple.
- Microwave-safe bowl or double boiler – for melting the chocolate gently without burning it.
- Spoon or small spatula – helps spread the melted chocolate evenly in the liners.
- Mixing bowls – for preparing the peanut butter filling; choose a medium size for easy mixing.
Flavor Variations & Add-Ins
- Use dark chocolate or white chocolate instead of semi-sweet for different flavors and looks.
- Mix in a teaspoon of cinnamon or a splash of almond extract with the peanut butter for added flavor.
- Add chopped nuts or crispy rice cereal into the peanut butter filling for crunch.
- Swirl in a little caramel or chocolate sauce on top before the final layer for a gooey surprise.
Classic Homemade Reese’s Peanut Butter Cups
Ingredients You’ll Need:
- 1 1/2 cups semi-sweet chocolate chips (or milk chocolate chips)
- 1 cup creamy peanut butter (preferably natural or unsweetened)
- 1/4 cup powdered sugar, sifted
- 2 tablespoons unsalted butter, softened
- 1/2 teaspoon vanilla extract
- 1/8 teaspoon salt (omit if peanut butter is salted)
- Mini cupcake liners
How Much Time Will You Need?
This recipe takes about 15 minutes of active preparation time, plus around 1 hour of chilling time to let the peanut butter cups set properly in the refrigerator. The process is simple and quick, but allowing the cups to firm up is key for the perfect texture.
Step-by-Step Instructions:
1. Prepare Your Pan:
Line a mini muffin pan with paper cupcake liners to keep the peanut butter cups neat and easy to remove once set. Set the pan aside for now.
2. Melt the Chocolate:
Place the chocolate chips in a microwave-safe bowl. Heat in 30-second bursts, stirring well after each one, until the chocolate is fully melted and smooth. Alternatively, melt the chocolate gently using a double boiler on the stove.
3. Make the Chocolate Base:
Drop about 1 teaspoon of melted chocolate into the bottom of each cupcake liner. Use the back of a spoon to spread the chocolate evenly to cover the base. Put the pan into the refrigerator for about 10 minutes so the chocolate can harden.
4. Mix the Peanut Butter Filling:
While the chocolate sets, stir together the peanut butter, powdered sugar, softened butter, vanilla extract, and salt in a medium bowl. Mix until smooth and creamy.
5. Add Peanut Butter Layer:
Once the chocolate base has firmed, spoon about 1 tablespoon of the peanut butter mixture onto each chocolate base. Gently press to flatten, being careful to leave a little space around the edges so the chocolate can seal the filling inside.
6. Cover with More Chocolate:
Pour the remaining melted chocolate over the peanut butter filling, making sure each cup is fully covered. Tap the pan gently to smooth the tops and release any air bubbles.
7. Chill Until Firm:
Place the filled muffin pan back in the refrigerator for at least 1 hour, or until the peanut butter cups are completely firm and set.
8. Serve and Store:
After chilling, carefully peel off the paper liners and store your homemade Reese’s peanut butter cups in an airtight container in the fridge. Serve chilled or at room temperature for a delicious treat!
Can I Use Natural Peanut Butter in This Recipe?
Yes! Just make sure to stir natural peanut butter well before measuring, as it can separate. The recipe works great with natural peanut butter, though the texture might be slightly softer.
How Should I Store Homemade Peanut Butter Cups?
Store them in an airtight container in the refrigerator for up to 2 weeks. They also freeze well—just thaw in the fridge before enjoying!
Can I Substitute the Chocolate?
Absolutely! You can use milk chocolate, dark chocolate, or even white chocolate chips depending on your preference. Just melt carefully to avoid burning.
What If I Don’t Have a Mini Muffin Pan?
No problem! You can use a small silicone mold or even a regular muffin pan with cupcake liners, although your cups might be larger. Just adjust portions accordingly.